Is your toilet cistern causing constant issues like leaks, incomplete flushes, or continuous running water? These problems can be both frustrating and wasteful. Replacing a faulty cistern not only restores your toilet’s functionality but also conserves water and prevents potential damage to your bathroom. In this comprehensive guide, we’ll walk you through the process of replacing your toilet cistern, ensuring you can tackle this task with confidence and precision.
Understanding the Role of a Toilet Cistern
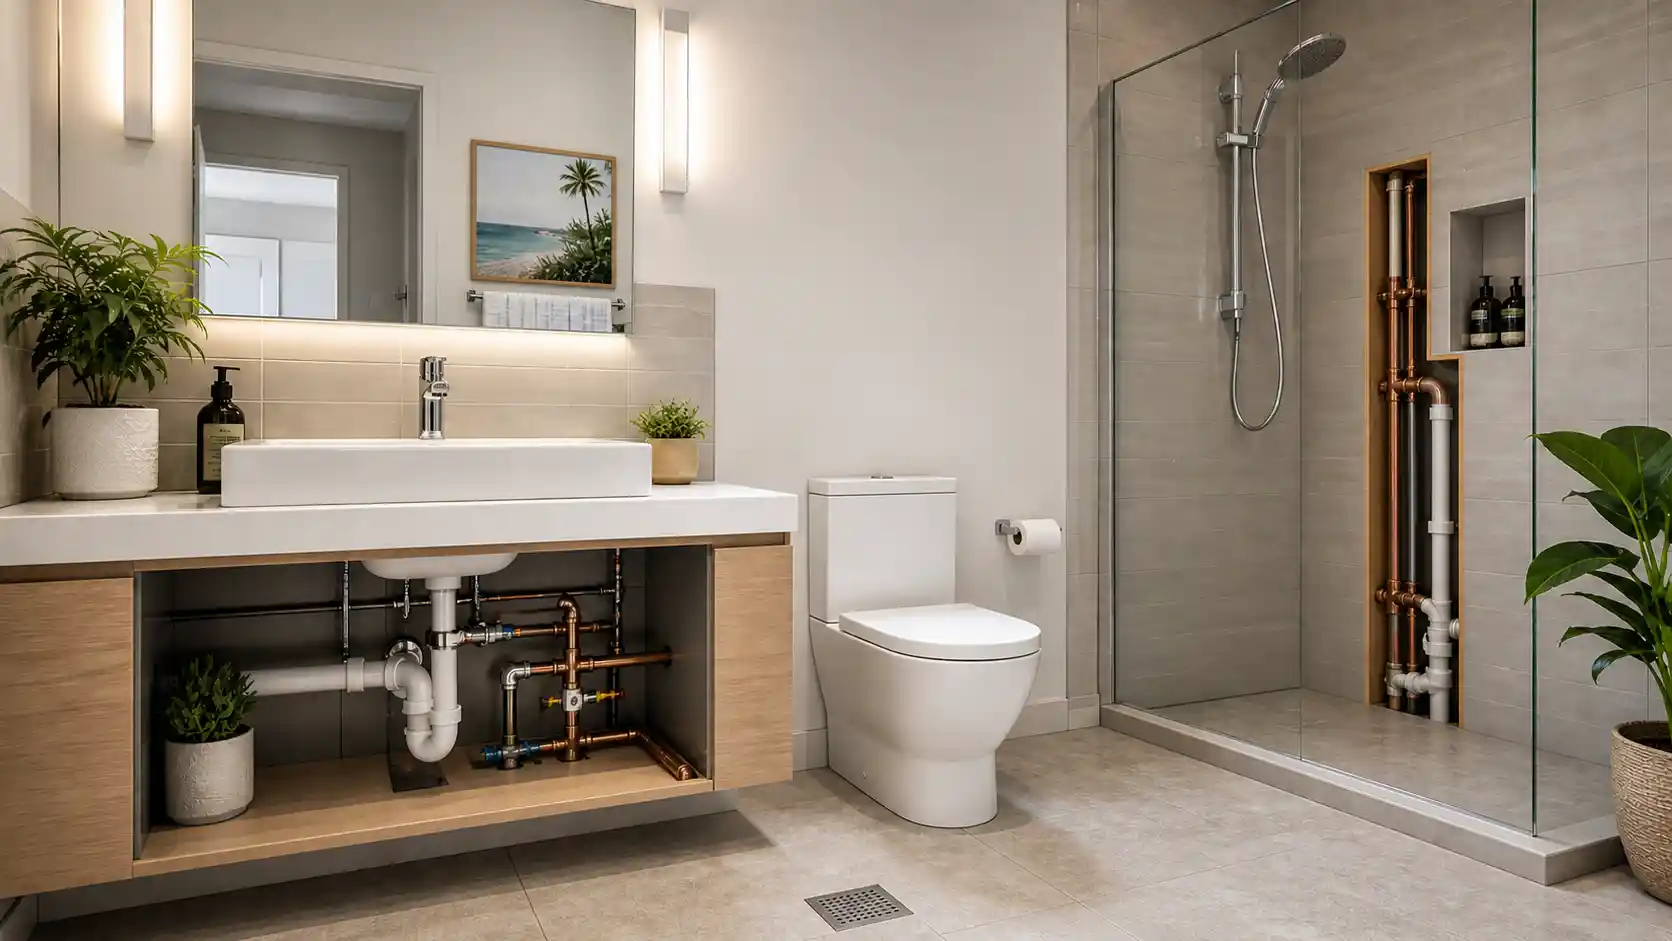
The toilet cistern is an essential component of your bathroom plumbing. It stores the water required for flushing and houses the mechanism that controls the flush operation. Over time, wear and tear can lead to issues such as leaks, malfunctioning flushes, or continuous water flow. Addressing these problems promptly by replacing the cistern can save water and prevent further complications.
Signs That Indicate a Cistern Replacement Is Needed
Before diving into the replacement process, it’s crucial to determine whether your cistern truly needs replacing. Here are common signs indicating it’s time for an upgrade:
- Continuous Water Running: If water is constantly flowing into the bowl, it suggests a faulty flush valve or overflow issue.
- Incomplete or Weak Flushes: Difficulty in flushing waste effectively points to internal mechanism problems.
- Visible Leaks: Water pooling around the base or dripping from the tank indicates cracks or seal failures.
- Age and Wear: Older cisterns may have outdated components prone to frequent malfunctions.
Tools and Materials You’ll Need
Gather the following tools and materials to ensure a smooth replacement process:
- Adjustable Wrench: For loosening and tightening nuts and bolts.
- Screwdriver: To remove screws securing the cistern.
- Plumber’s Tape (Teflon Tape): Ensures watertight seals on threaded connections.
- Replacement Cistern: Ensure it’s compatible with your existing toilet bowl.
- Bucket and Towels: To catch and clean up any residual water.
Step-by-Step Guide to Replacing Your Toilet Cistern
Follow these detailed steps to replace your toilet cistern effectively:
1. Turn Off the Water Supply
Locate the shut-off valve, typically found on the wall behind the toilet. Turn it clockwise to stop the water flow. Flush the toilet to empty the cistern, and use a sponge or towel to remove any remaining water.
2. Disconnect the Water Inlet Pipe
Using an adjustable wrench, loosen the nut connecting the water supply line to the bottom of the cistern. Place a bucket underneath to catch any residual water during this process.
3. Remove the Old Cistern
Unscrew the bolts or screws securing the cistern to the wall and the toilet bowl. Carefully lift the cistern off the mounting bracket, ensuring you don’t damage any surrounding fixtures.
4. Prepare the New Cistern
Before installation, attach any internal components (like the flush mechanism) to the new cistern as per the manufacturer’s instructions. Apply plumber’s tape to threaded areas to ensure watertight seals.
5. Install the New Cistern
Position the new cistern onto the mounting bracket, aligning it with the bolt holes. Secure it by tightening the bolts or screws, ensuring it’s level and stable. Reconnect the water inlet pipe, ensuring all connections are tight to prevent leaks.
6. Test for Leaks and Functionality
Turn the water supply back on by rotating the shut-off valve counterclockwise. Allow the cistern to fill, then perform several test flushes. Observe for any leaks around the connections and ensure the flush mechanism operates smoothly.
Tips for a Successful Replacement
- Compatibility Check: Ensure the new cistern matches your toilet bowl’s design and dimensions.
- Avoid Overtightening: While securing bolts and connections, tighten them sufficiently but avoid overtightening, which can cause cracks or damage.
- Seek Professional Help if Needed: If you’re uncertain about any step or encounter complications, don’t hesitate to consult a professional plumber.
Frequently Asked Questions (FAQs)
Q1: Can I replace a toilet cistern myself, or should I hire a professional?
A1: Replacing a toilet cistern is a manageable DIY task if you have basic plumbing skills and the right tools. However, if you’re uncomfortable or inexperienced, it’s advisable to hire a professional to ensure the job is done correctly.
Q2: How do I know if a new cistern is compatible with my existing toilet bowl?
A2: Check the manufacturer’s specifications for both your toilet bowl and the new cistern. Ensure that bolt hole alignments, dimensions, and inlet/outlet positions match. When in doubt, consult with a plumbing professional or the retailer.
Q3: What should I do if I notice a leak after installing the new cistern?
A3: First, turn off the water supply to prevent further leakage. Then, inspect all connections, ensuring they are tight and properly sealed. If the leak persists, it may indicate a faulty component or installation error, and professional assistance is recommended.
Q4: How long does it typically take to replace a toilet cistern?
A4: For someone with basic plumbing knowledge, replacing a cistern can take approximately 1 to 2 hours. This includes time for removal, installation, and testing for leaks.
Q5: Are there different types of cisterns I should consider?
A5: Yes, cisterns come in various designs, including close-coupled, concealed, and low-level types. Consider your bathroom’s aesthetics, space, and existing toilet design when selecting a new cistern.
By following this guide, you can confidently replace your toilet cistern, restoring optimal functionality to your bathroom. Remember, when in doubt, seeking professional assistance like ASFLOW plumbing ensures the longevity and efficiency of your plumbing fixtures.