Getting crystal-clear, great-tasting tap water is something every Kenmore homeowner can appreciate. Even though Kenmore’s drinking water generally meets Australia’s tough quality guidelines, you might still want that extra layer of purity – whether it’s to improve taste, remove pesky chlorine or give you peace of mind about things like PFAS.
Installing a water filtration system in Kenmore can be surprisingly easy (no pun intended!), and it’ll have you sipping clean water straight from the tap before you know it. In this guide, I’ll walk you through why you might want one, the types of filters to consider, and each step of the installation process. (Spoiler: you don’t need a plumbing degree, just a bit of patience and the right tools.)
Why You Might Want a Water Filtration System in Kenmore
You probably already know Brisbane’s water is pretty good – in fact, Seqwater, the local water utility, says SEQ has some of the world’s highest-quality drinking water. That means the water from Mt Crosby (which supplies Kenmore) is treated to meet the Australian Drinking Water Guidelines, so it’s safe to drink. In other words, water suppliers keep the tap water within strict health standards.
However, pristine by guideline standards doesn’t always mean perfect to the palate. Let’s say after a big rainstorm you notice the tap water smells a bit earthy or tastes “off” – that’s often due to natural compounds (like geosmin) that briefly sneak through. Aging pipes can also add tiny sediment or metals by the time water reaches your tap. (One meter in my old Kenmore kitchen once tasted like metallic lemonade – not pleasant.) Some folks also worry about trace contaminants like PFAS – Kenmore’s water comes from Mt Crosby, which did have PFAS detected, though still well below Aussie safety limits.
That’s where a Water Filtration System in Kenmore comes in handy. A good home filter is like a mini water spa – it polishes your tap water so it tastes clean, smells fresh, and feels safer to drink. For example, an activated carbon filter in your sink can capture chlorine, organic chemicals, and those chlorine-related odour compounds that make your water taste less than ideal.
In short, even though Kenmore tap water is safe by the book, many locals still invest in a Water Filtration System in Kenmore to avoid any weird taste, protect sensitive family members, and add an extra layer of reassurance. Plus, you’ll likely buy fewer plastic bottles – a win for you, your wallet, and the environment!
Types of Home Water Filtration Systems
Choosing the right water filtration system in Kenmore means thinking about what you need and how much plumbing work you want to tackle. Here are the common types:
- Pitcher or Faucet Filters: These are the simplest. A pitcher (like a Brita jug) or a screwing-on faucet attachment uses an activated carbon cartridge to remove chlorine and some impurities. They’re cheap, portable, and require no installation. However, they only filter small volumes and must be refilled and replaced often.
- Under-Sink Filters (Point-of-Use): These systems install under your kitchen sink and hook up to a dedicated faucet or the cold-water line. They usually use a series of filters (often carbon + others) to clean your drinking water. Many come with their own faucet you drill into the sink or counter. They handle more water than pitchers and can remove things like lead and chlorine, giving near-bottled water quality. Installation can be DIY-friendly if you’re handy.
- Reverse Osmosis (RO) Systems: Think of these as the Rolls Royce of under-sink filters. RO units push water through a fine membrane plus pre- and post-filters to strip out dissolved salts, heavy metals, and even tiny bacteria. They produce ultra-pure water but often require space for a storage tank and a drain line. They also remove beneficial minerals, so some people prefer a remineralizing stage. Because of their complexity, RO systems are best installed by a professional or experienced DIYer.
- UV Filters (Point-of-Entry or Point-of-Use): UV systems shine ultraviolet light through your water to kill bacteria, viruses, and other microbes. On their own, they don’t remove chemicals or solids, so they’re often paired with other filters. If your water source is suspect for germs (like a bore or tank), UV adds safety.
- Whole-House (Point-of-Entry) Filters: These install where water enters your home, so every tap and shower gets filtered water. A whole-house system typically includes sediment prefilters and a big activated-carbon or scale filter.
This is great if you have very hard water, a well, or want to filter city water for all uses. But it’s a major install and usually involves plumbing permits. Many Aussies get a whole-house system if they use rainwater tanks or bore water.
| Filter Type | What It Removes | Installation | Pros/Cons |
|---|---|---|---|
| Pitcher/Tap-Top Filter | Chlorine, some chemicals (carbon filter) | None / No plumbing | Cheap, easy; limited capacity |
| Under-Sink Filter | Chlorine, heavy metals, sediment | DIY moderately easy | Bottled-water taste; regular cartridge changes |
| Reverse Osmosis | Dissolved salts, metals, bacteria | Complex DIY or professional | Purest water; wastes some water, removes minerals |
| UV Disinfection | Bacteria, viruses (no chemicals) | Professional recommended | Safe drinking water; needs clear pre-filtering |
| Whole-House Filter | Sediment, chlorine, hardness | Professional / plumber needed | Filtered water everywhere; costly install |
As you can see, a basic activated carbon filter is often enough for city tap water – it’ll remove chlorine taste/odor and general nastieshealthywa.wa.gov.au. An RO system or UV unit makes sense if you have special needs (like heavy metals, bore water, or if someone is immuno-compromised). The key is: test your water. Kits or labs can tell you if your Kenmore tap has hardness, metal, or pH issues so you pick the right system.
Tools and Prep: Gather What You Need
With your filter chosen, it’s time to get ready. Even a DIY installation needs some tools:
- Tools: You’ll likely need a *Phillips & flat-head screwdriver, adjustable wrenches or pliers, an electric drill with a hole-saw bit (usually ~25–32mm) if you need a new faucet hole, and cutting pliers or tubing cutters for plastic tubing. Keep some Teflon (plumber’s) tape handy to seal any threaded pipe joints. A bucket, towels, and safety goggles are good insurance for spills.
- Materials: Your filter kit should come with most hardware (brackets, tubing, fittings). If not, pick up a compression tee valve (for connecting to the cold water line) and a sink faucet (if not included). Check that any filter housing or faucet has the Australian WaterMark or plumbing safety mark – this means it’s tested to Aussie standards.
- Prep the Area: Clear out under-sink cabinets or workspace so you’re not cramped. Shut off the water – either at the main valve or just the cold tap under the sink (typically a small stop-valve). Turn on the nearest faucet afterwards to relieve pressure and drain any water. Lay out a towel in case of drips.
- Plan Layout: Position your filter system so it’s easy to access for changing cartridges, and close to the cold water pipe. For under-sink filters, you might replace an existing cold-water feed or set the filter on the cabinet floor. If you have an existing sprayer or soap dispenser hole, you might re-use it for the filtered-water faucet. Make sure there’s room for the filter canisters and (if RO) the storage tank.
With tools at the ready and water off, you’re almost set to begin. As [22] emphasizes, take care during installation – it can take a few hours. Using a licensed plumber is recommended for complex systems, but many simpler units can be tackled by a handy homeowner.
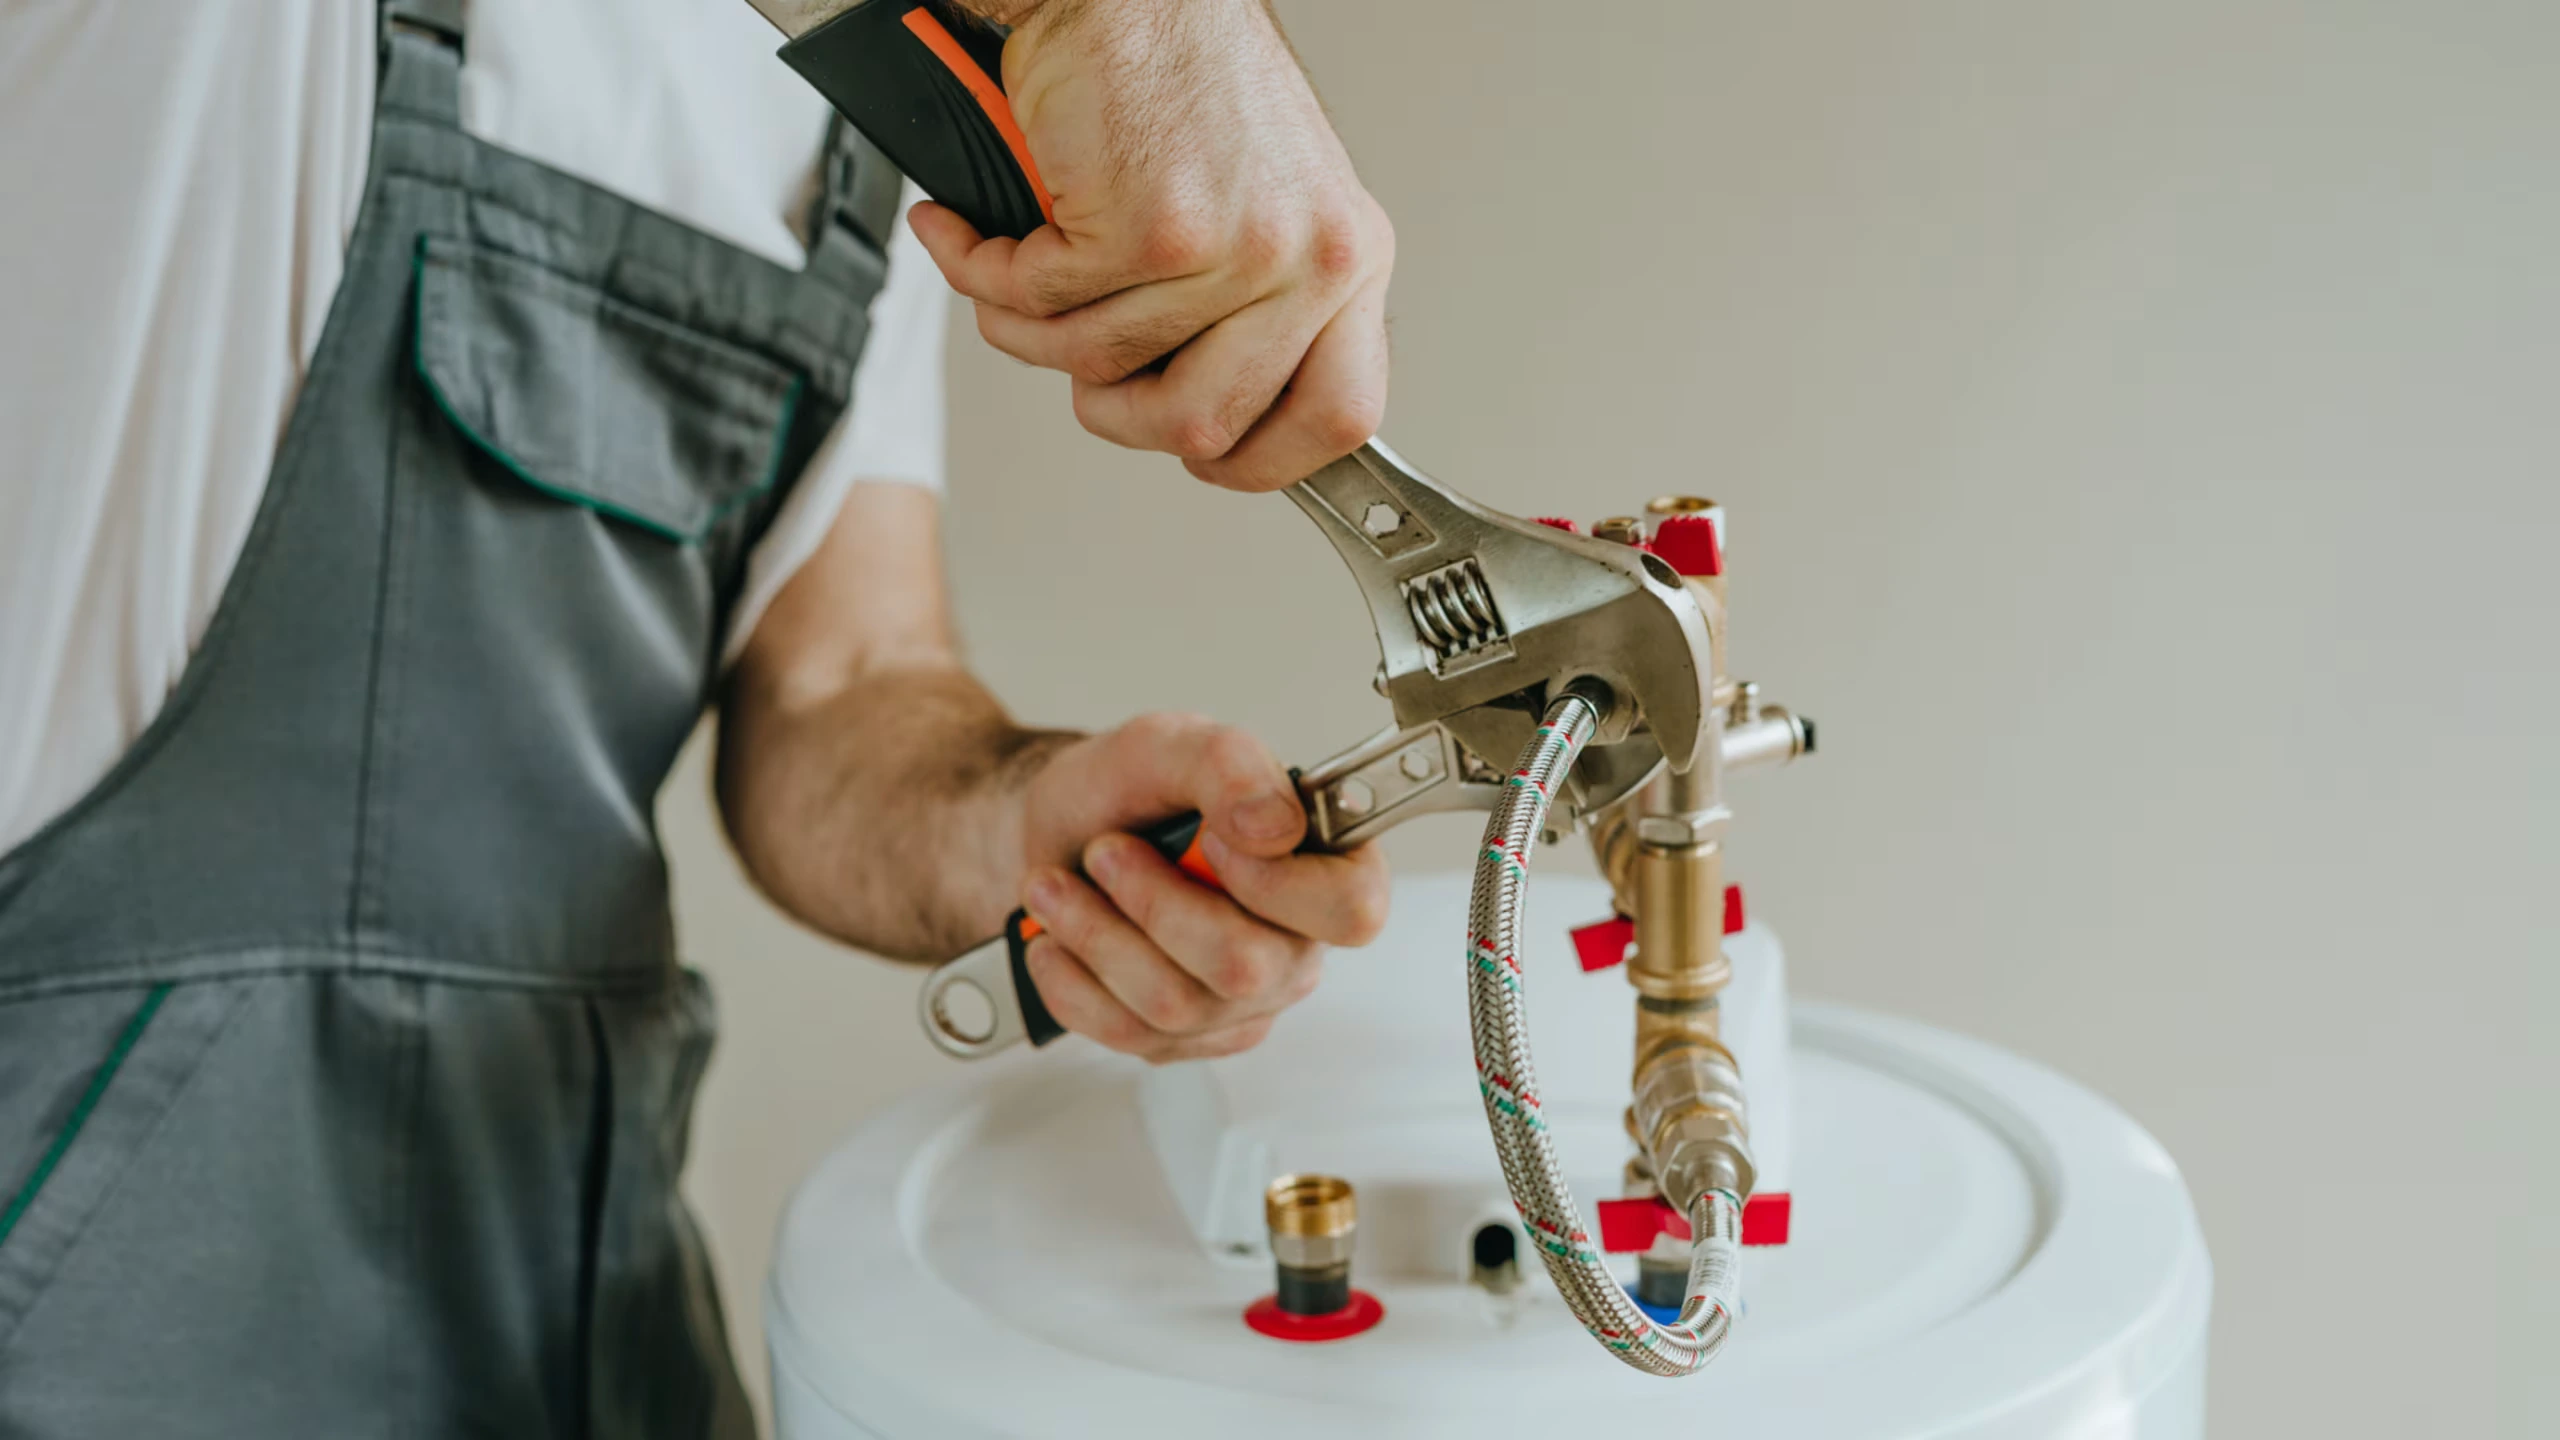
Tools of the trade: Tape measure, wrenches, drill and a spare faucet – the basics for setting up your filter system. All that’s missing is you (and maybe a cold drink of filtered water once you’re done)!
Step-by-Step Installation Guide
Depending on the type of Water Filtration System, your steps will vary. Below is a general guide for a typical under-sink or point-of-use filter with its own faucet. (If you’re installing a simple faucet-mounted filter or a whole-house unit, skip to the respective step headings.)
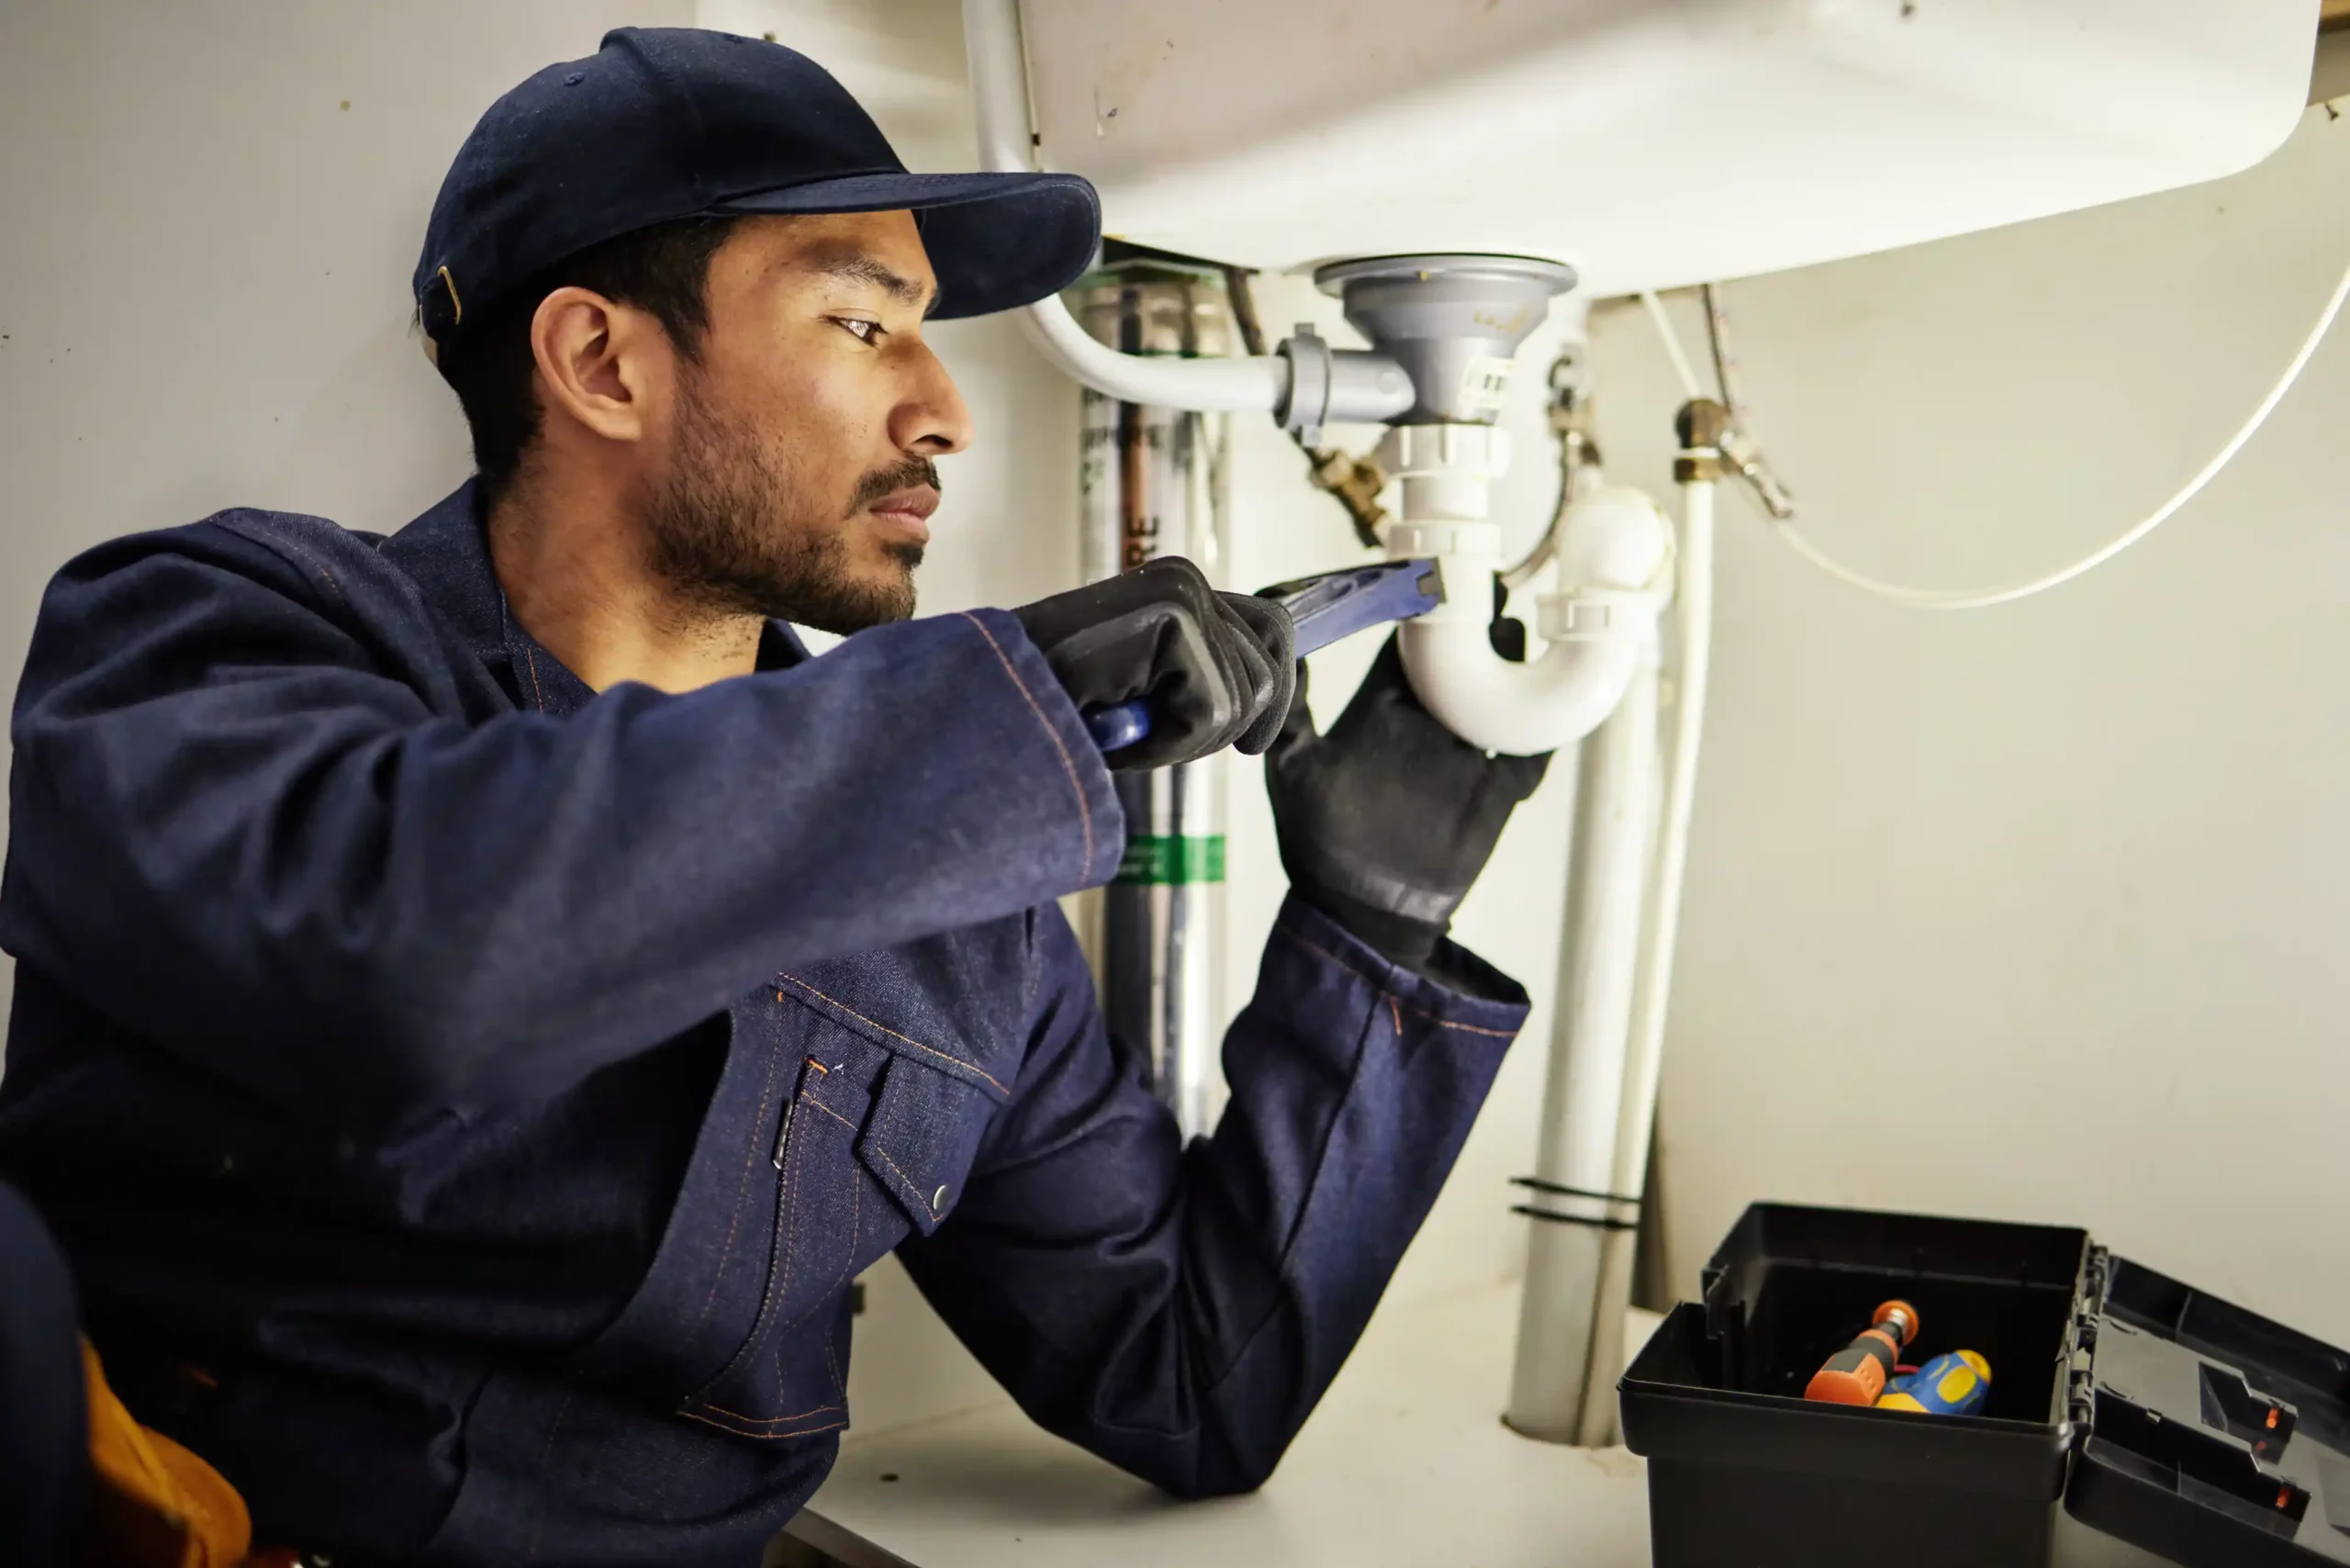
- Install the faucet (if provided): Many under-sink filters come with a separate faucet for the filtered water. Choose a location on your sink or counter. If an existing hole isn’t available, drill one with the correct hole-saw bit. Install the new faucet according to the instructions (usually it drops in and is secured from below). Remember to use plumber’s tape on the faucet threads to prevent leaks.
- Attach the feed valve: Find the cold-water feed line (usually a flexible hose) under your sink. Unthread it from the shutoff valve. Now install a T-fitting (tee) or saddle valve onto the cold-water valve so you have one outlet going to the filter. (If your kit has a compression tee, tighten it onto the valve – use Teflon tape on all threaded connections.) Essentially, you’re creating a branch: water goes from the valve into the Water Filtration System.
- Mount the filter system: Secure the filter unit (or pre-filter blocks) to the cabinet wall using the provided bracket, or simply place it on the cabinet floor close to the valves. Make sure it’s upright and easy to access.
- Connect tubing: Most kits use color-coded plastic tubes. Typically, one tube runs from the cold-water feed (from the valve or tee) to the filter’s inlet. Another tube runs from the filter’s outlet to the new faucet you installed.
If you have a separate drain for an RO system, there’s also a drain line from the RO to a sink drain. Use quick-connect fittings: push the tube firmly into the fitting until it bottoms out. Don’t forget the red safety clips if provided – they lock the tubes in place. Cut tubing ends squarely for a good seal. - Turn water back on and test: With everything connected, turn the cold water valve back on slowly. Check all fittings and joints for leaks. Tighten connections as needed. Some dripping initially is okay as the filter fills up.
- Flush the system: Most new filters have carbon dust or trapped air. Run the filtered-water faucet for a few minutes to clear any carbon fines and ensure the water runs clear.
If you’re installing a Reverse Osmosis (RO) Water Filtration System under the sink, the steps are similar but include a few extras: mount the RO membrane housing, attach a faucet with a 3/8” outlet, connect the feed with a pressure-limiter valve (set to around 500 kPa), and install a small storage tank in the cabinet. Then hook a drain line, as RO systems push wastewater into your sink’s drain or an existing drain line.
For a faucet-mount or countertop Water Filtration System, it’s simpler: usually you just screw on an adapter to your kitchen tap and attach the filter housing as per the manufacturer’s instructions. Always flush these too before drinking.
For a whole-house Water Filtration System, preparation is key. You’ll shut off the main water, cut the incoming pipe, and install the filter housings outside or in a utility area (often by the meter or main shutoff). This definitely falls into “hire a plumber” territory unless you’re very confident with big plumbing jobs.

Maintaining Your Water Filtration System
Great job, you’re a filter installer! To keep that Kenmore water filtration system running smoothly, remember these maintenance tips:
- Replace cartridges regularly. Every filter has a service life. For example, sediment and carbon pre-filters usually last ~12 months, while an RO membrane can last 3–5 years. Check your user manual. If the water flow slows dramatically or taste worsens, it’s time to swap cartridges.
- Follow official guides. Manufacturers provide flushing and change-out schedules. Stick to them. As HealthyWA advises, always follow the manufacturer’s instructions, including regular cartridge changes.
- Check for leaks. Every month or so, glance under the sink to make sure all fittings are dry. Even a tiny drip can signal a loose clamp. Tighten connections and replace old tubing if it’s stiff or cracked.
- Test your water. If you’re curious, after installation you can test your water’s chlorine, TDS (total dissolved solids), or other parameters to see the difference the filter makes. It’s a cool science experiment with delicious results.
- Keep paperwork. Save your warranty cards and manuals. Some systems come with reminders or subscription services (like the RO manual [22] mentioned) to get replacement parts.
- Turn off if you go away. If you’ll be on holiday, it’s a good idea to shut off the filter at the valve. The [RO manual] specifically recommends turning off water if you’re away longer than a week, to avoid any stagnant water issues.
Following these practices will mean your home water filtration system in Kenmore stays effective for years. By regularly changing filters, you ensure the system only removes what it’s meant to – so your drinking water stays as clean as intended.
Now every sip feels like a fresh mountain stream – cheers! Using a filter means water that looks and tastes sparkling clean.
Frequently Asked Questions
Is Kenmore’s tap water safe to drink without a filter?
Yes – Brisbane tap water (including Kenmore) is rigorously tested and meets the Australian Drinking Water Guidelines. Any temporary taste issues (like earthy smells after rain) don’t mean it’s unsafe. A filter is usually for taste and extra reassurance, not safety.
How often do I need to replace the filter cartridges?
It varies by system, but many filters need cartridge changes every 6–12 months. RO membranes last longer (2–5 years). Check your manual for exact intervals.
Will a home filter remove PFAS or other chemicals?
Some filters (like reverse osmosis) can reduce PFAS and other tough contaminants, but standard carbon filters mainly remove things that affect taste and odor. If PFAS is a concern, talk to a water specialist.
Can I install the system myself or do I need a plumber?
Simple filters (faucet-mount, pitchers, basic under-sink) are DIY-friendly. Complex setups like whole-house or multi-stage RO may need a professional. At the very least, shut off water before starting any install to avoid floods.
What should I do if my filtered water tastes funny?
First, flush the system (run water through it for a few minutes). If it still tastes odd, check if the filter cartridges are overdue for a change. Cooling the water in the fridge can also reduce any trace earthy taste.
Ready to make every drop of Kenmore’s water the best it can be? Installing the right water filtration system at home is easier than you might think, and the payoff is crystal-clear peace of mind.
Whether you grab a simple pitcher filter or go all-in with an under-sink RO unit, you’ll enjoy fresher-tasting water and a healthier household. So roll up your sleeves (or call in a pro), get that Water Filtration System in Kenmore sorted out, and toast to cleaner sips ahead!